Age
9+
Duration
60mins
Difficulty Level
- Intermediate
What You’ll Need
- Computer
- Web Cam
Code your own music video.
Create your own futuristic digital animations with Hydra, the platform for live coding visuals.
In this Hydra tutorials you’ll discover how to bend and break shapes and colours into your own beautiful artwork – all by using lines of code. By the end of the guide you’ll know how to create interactive artwork, including how to make it respond to sound.
Getting Started.
Step 1.
Tinkering with the website
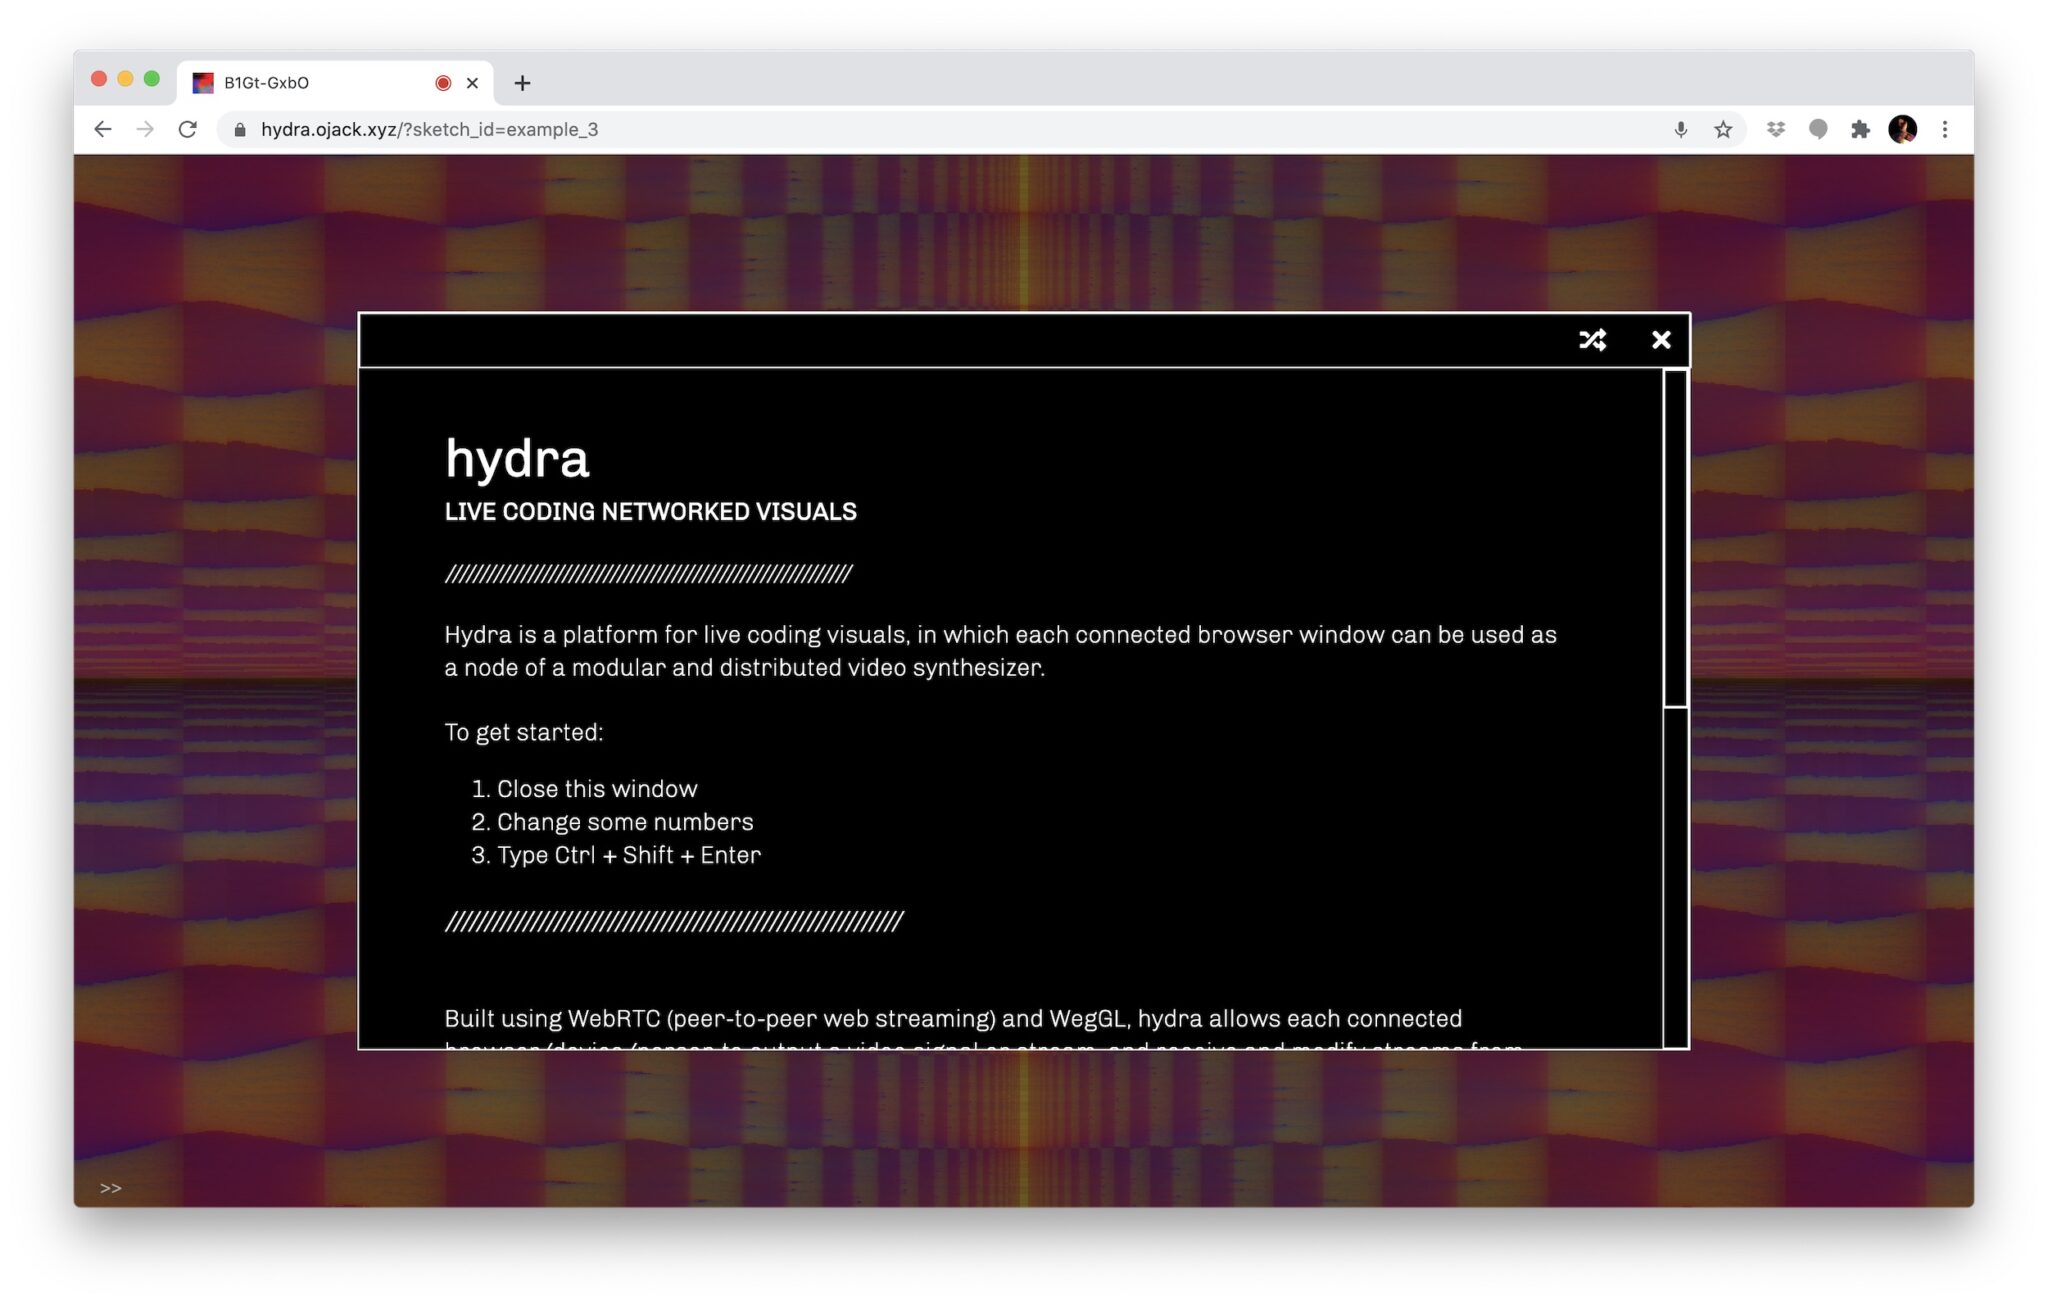
Hydra is an exciting website where you can code in the browser and create exciting visuals. When you first load the website there will be a pop-up with some info about the software, who made it and some of their own tips.
To begin, simply close that window and see what ‘patch’ has been auto loaded. A ‘patch’ is the code on the screen that creates the visuals. You can shuffle between other patches by clicking the shuffle icon (the overlapping arrows) and seeing what other artists have created.
Now, let’s edit the code. Try changing some numbers and then click the play button to see what happens. Does it make it better? Does it make it worse? Its ok if it breaks! Because when things break it we discover how they work. Simply hit undo and try again.

From left to right; Play, Share, Trash, Shuffle Patch, Randomise Current Patch, Help.
Step 2.
Choosing a source
To start designing your own patch you’ll want to start with a blank canvas. To do that, simply click on the trash can at the top of the screen, this will delete any code there and clear the screen.
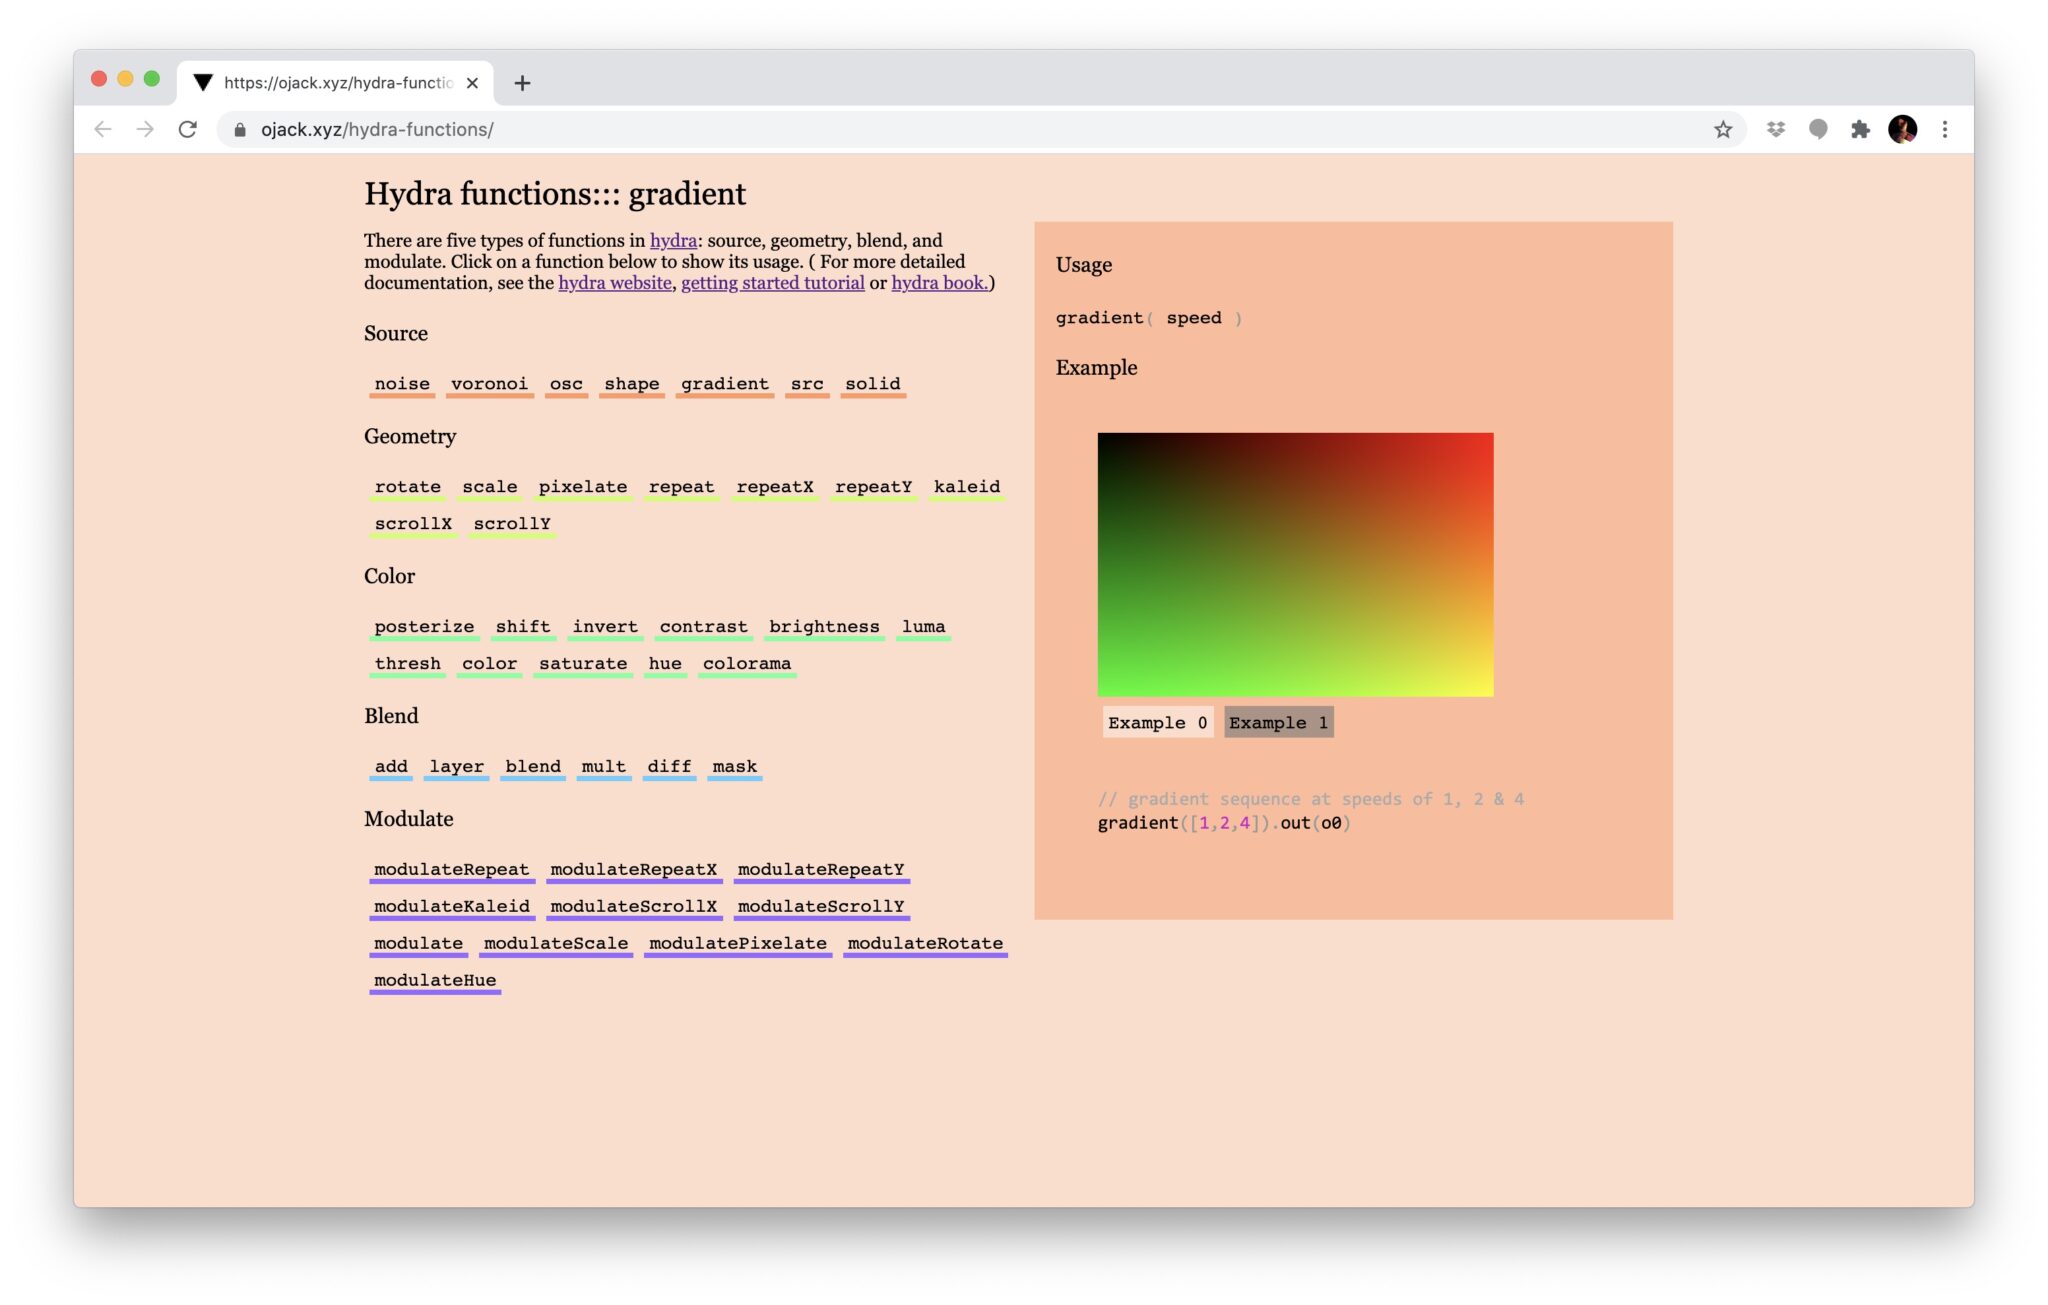
We’ll begin by creating a source ‘function’, this will generate some visuals which we can then apply different effects to. To find out more about all the different types of Functions, this website tells you about them and gives you example code (which is where the pictures come from).
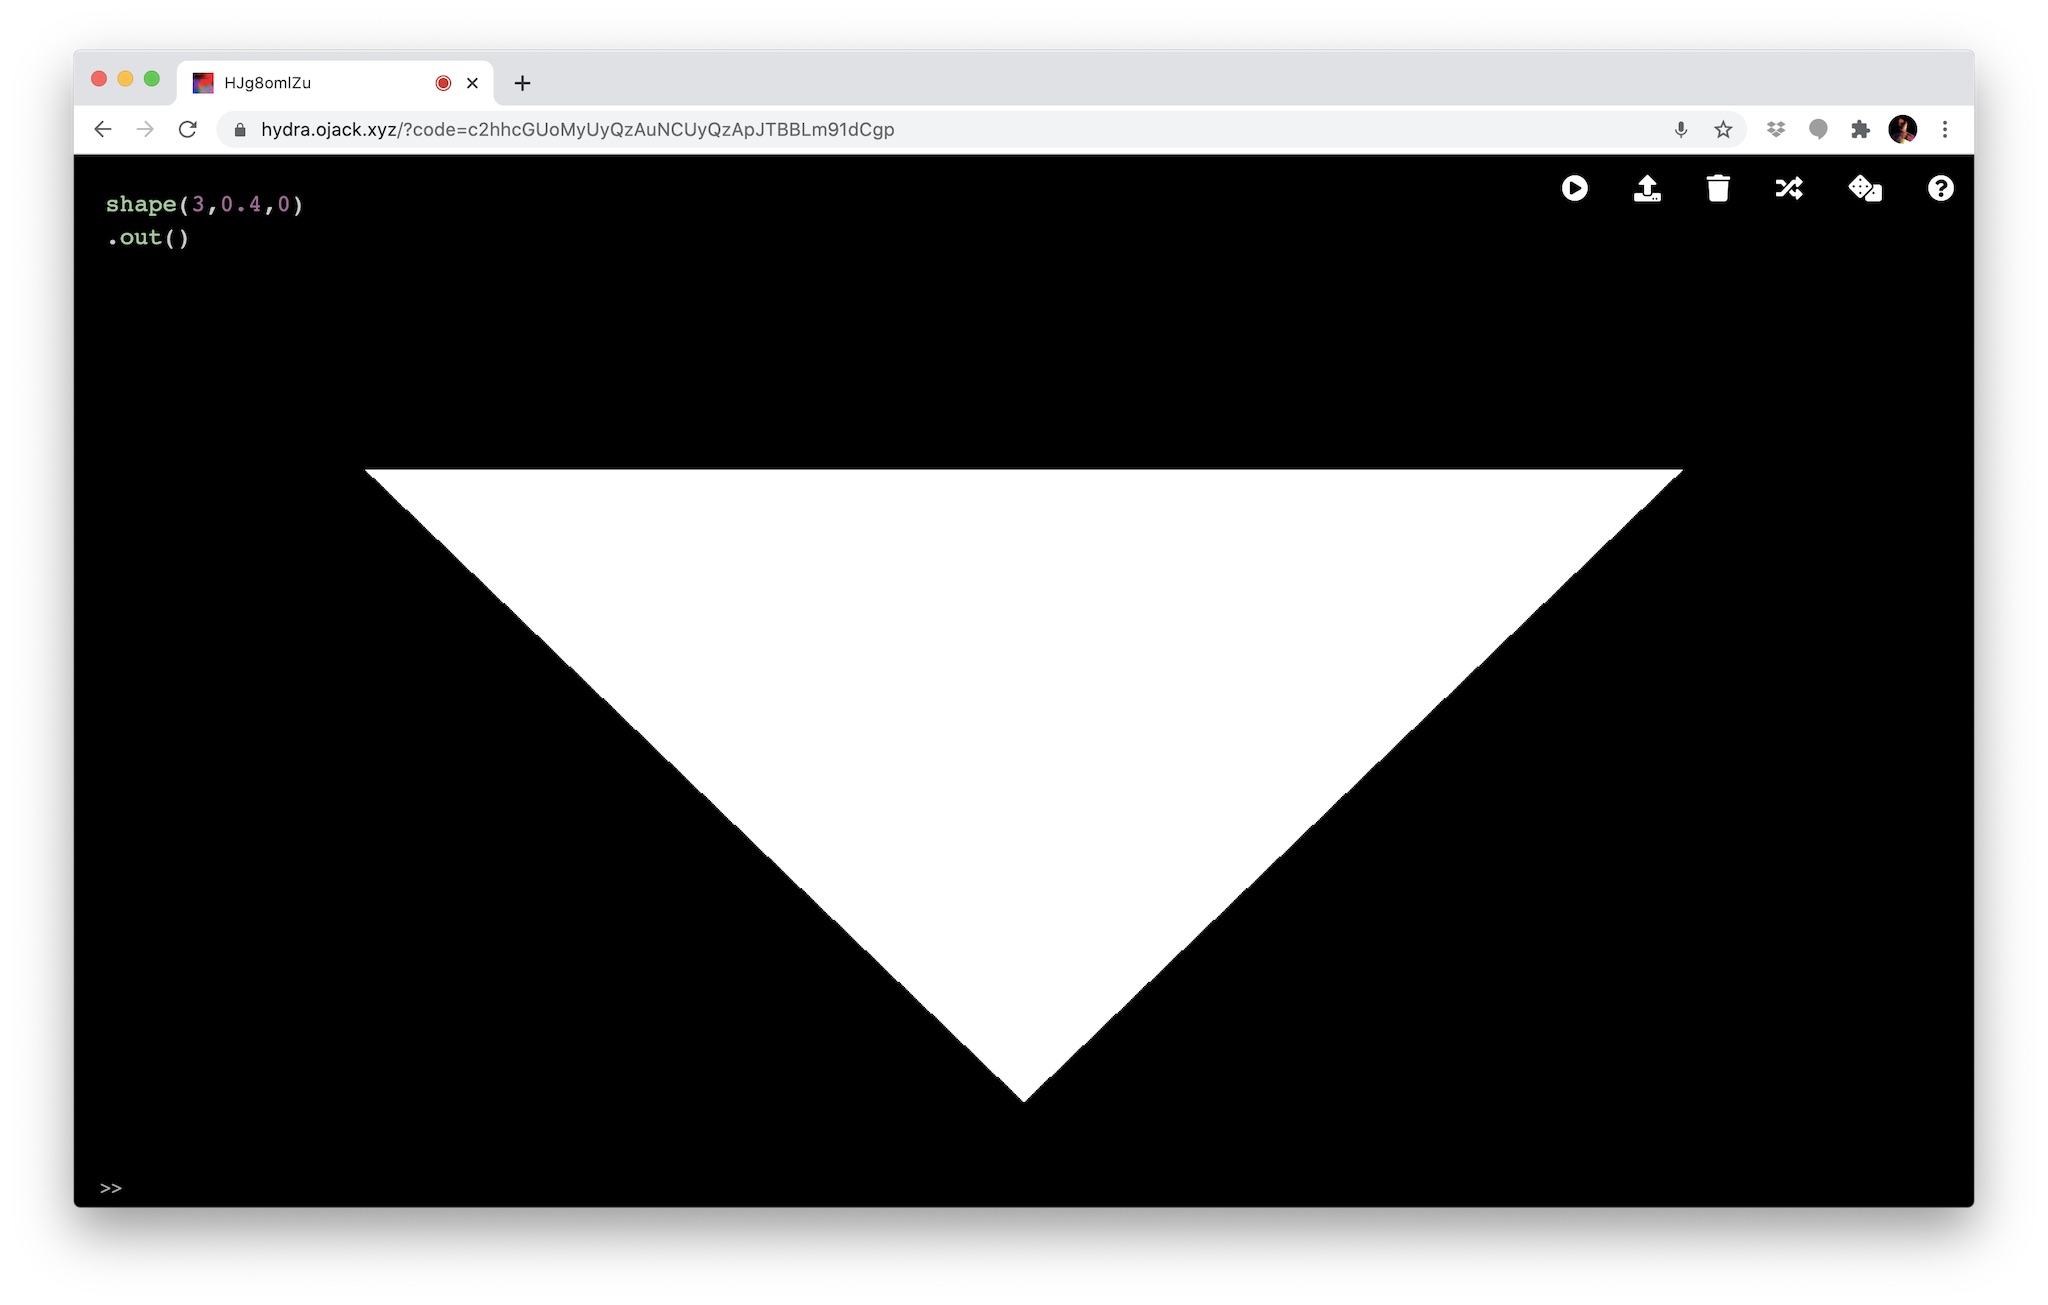
We’ll start with the shape source, type the word shape followed by three numbers inside a bracket. The first being the amount of sides the shape has, the second is how big on the screen you want it to be (0 being invisible, and 1 being full screen), and the third is how “smooth” you want the edges. The bigger the number the more blurry it’ll look.
After your source, make sure you type .out()as this tells the program to output your instructions. For example, heres a triangle;
Experiment with all the different types of source’s shown on this website (noise, voronoi, osc, shape, gradient and solid). When you click the word the website will show you to how use each one and what each number represents.
Step 3.
Applying geometry
Now we have some source material, we can apply effects to it. The first we’ll try is Geometry.

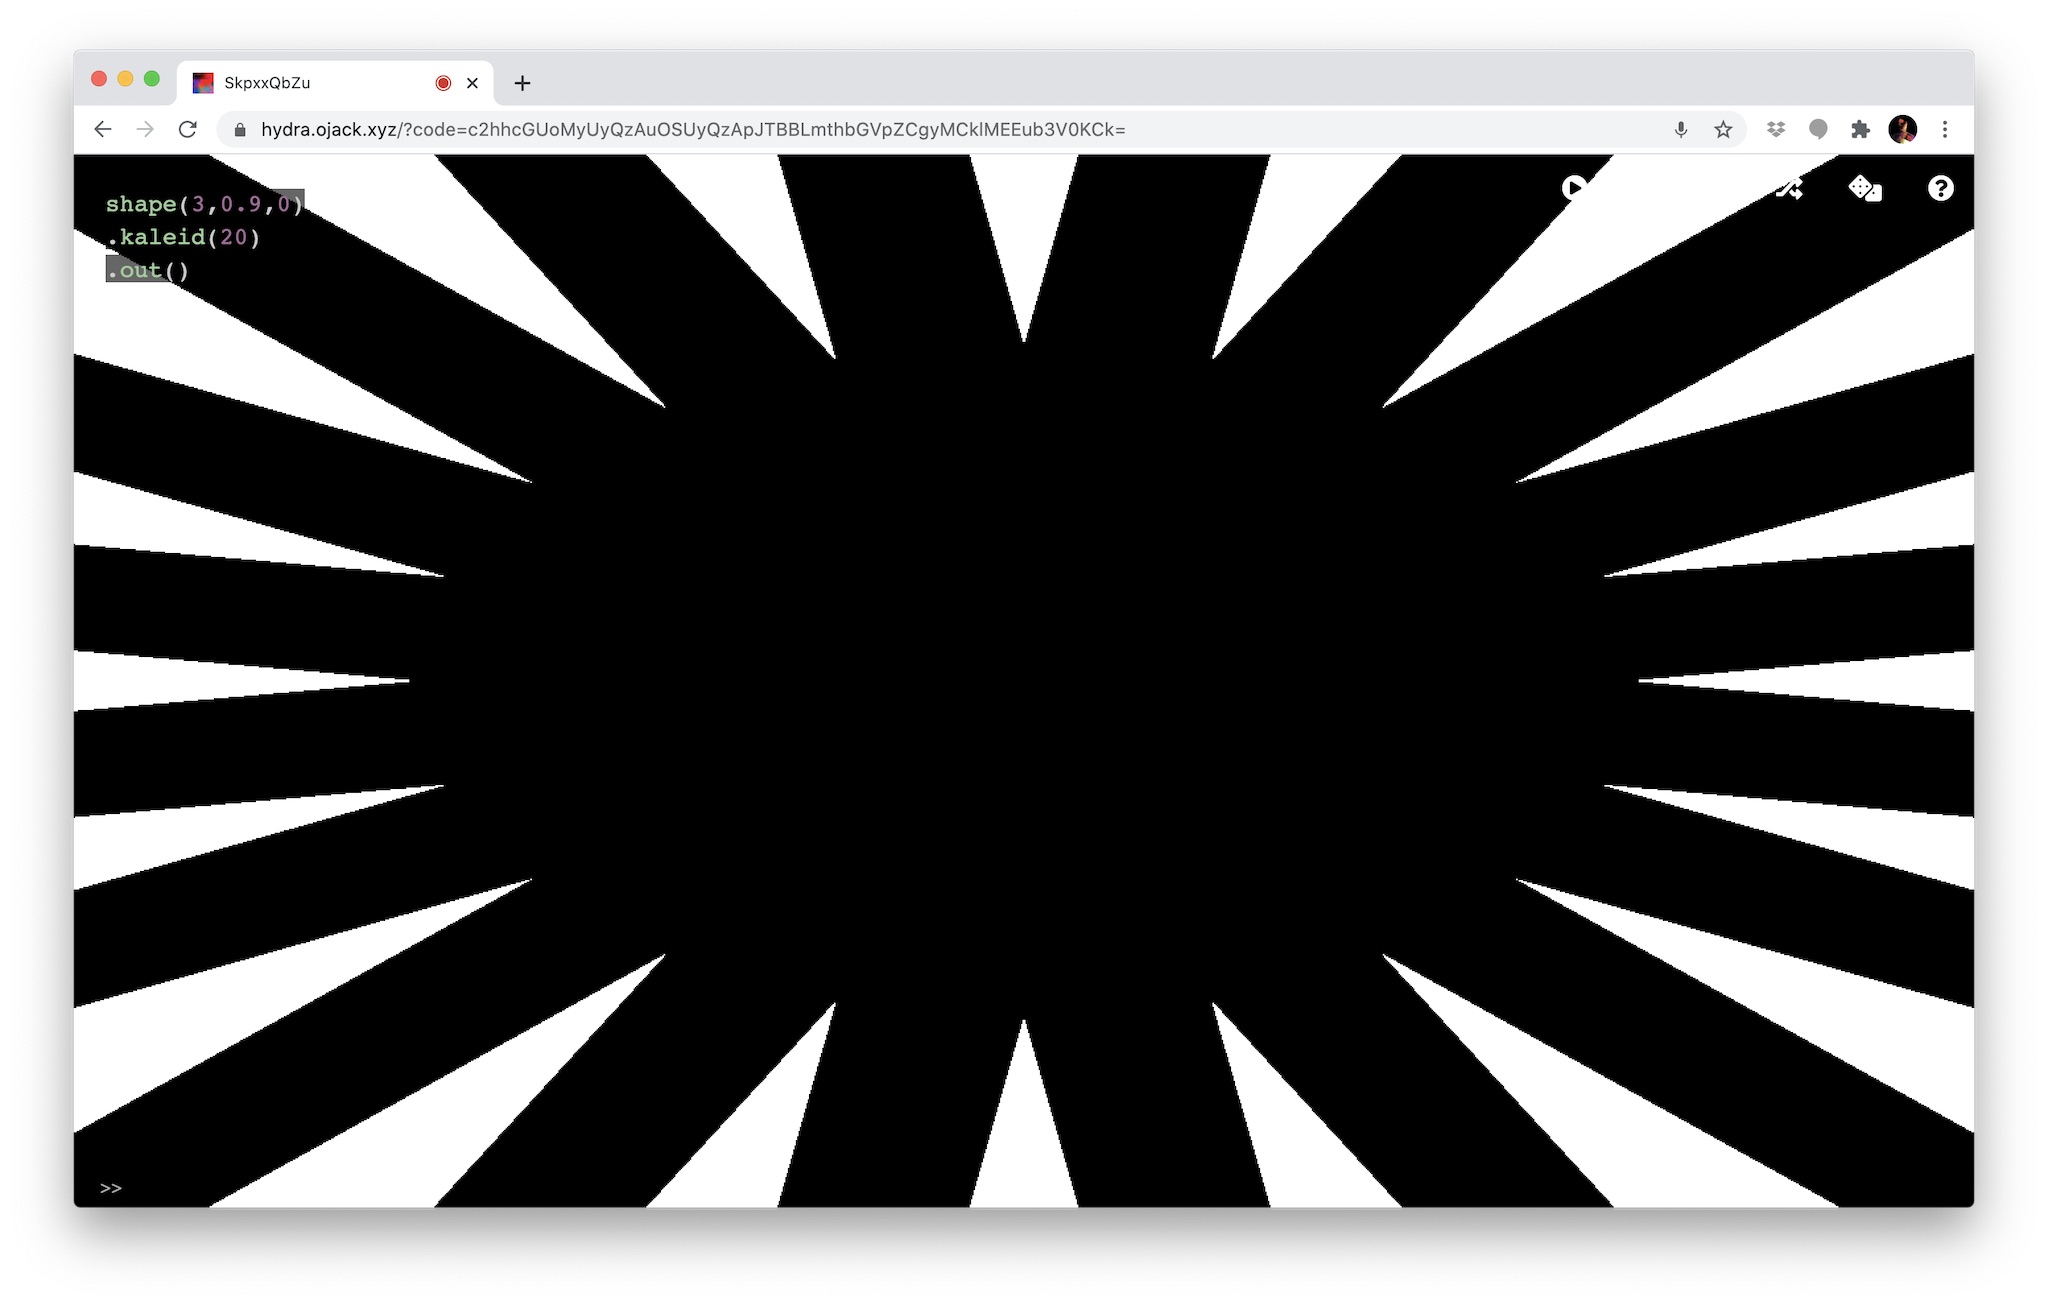
There are various different geometry functions, lets start with kaleid (short for kaleidoscope). To apply this effect simply type .kaleid after your source and then put a number inside the brackets for how many sides you want the kaleidoscope to have.
So using the triangle code from earlier, lets add .kaleid(). Don’t forget to adjust the numbers until it shows something you’re happy with. Maybe change the size of the shape? Perhaps change it to a square (change the 3 to a 4)? Start to experiment.
Now you can start to add more geometry functions. In the example below it uses OSC as the source, with kaleid, rotate and pixelate effects added afterwards.
Step 4.
Playing with colour

In Hydra the function that controls colour is spelt the American way color, so be wary of your spelling. This function allows you to change the RGBA; red, green, blue and alpha (alpha meaning opacity). If you were to put color(1,1,1) it would stay the same as before, but if you put color(-1,-1,-1) it would invert the colours. Experiment with changing the numbers and see how it changes the colours of your design.


Here you can see how the colorama effects the gradient source
Step 5.
Making it respond to sound
Hydra’s github repository has a comprehensive guide detailing lots of amazing features, including information about its experimental ‘audio responsive’ feature, which we’ll be using here.
To begin, lets make Hydra display any audio it can hear. This is useful to check that your microphone / browser are working properly. Type
a.show()
Now there will be a graphic in the bottom right with bars moving up and down to represent any audio it can hear. If theyre staying still, check that your browser is giving the website access to your microphone.
If you want to route audio from another source (e.g Spotify, Ableton or Logic etc), then you’ll need to use something like Sound Flower or Audio Jack to route the audio internally from one application to another.
Now that our audio input is working, we can use it to control whatever parameter we like. Simply replace whatever parameter you want to control with the code below, and it’ll now be controlled by the audio.
() => (a.fft[0]*4)
For example, this code changes the offset of an OSC source whenever it hears sound. Meaning the code goes bright and saturated whenever the sound gets loud.
osc(10, 0, () => (a.fft[0]*4))

.out()
Step 6.
Extra steps
Hydra is an incredible website, with heaps of features we don’t have the space to cover here. If you want to experiment further with hydra then watch this video series from Hydra’s creator Olivia Jack, where she shows how you can use your web cam as a source and all the amazing effects you can create. This would make for some incredible performances for sure!
If you do use Hydra for your music videos, then get in touch and send us a link! We would love to see what you create.