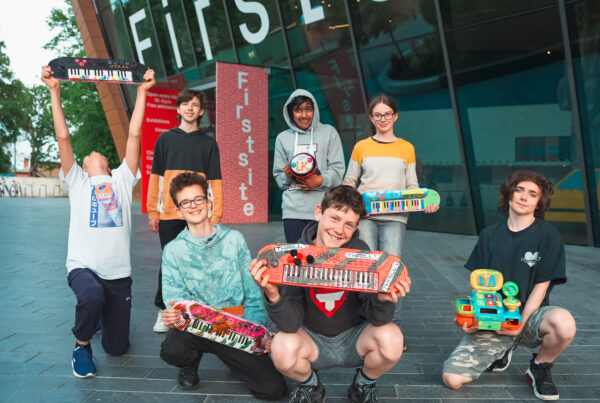
These 5 music workshop formats will get everyone improvising.
How often do we hear people say ‘I can’t sing’ or ‘I can’t play’? Self-perceived ability often holds people back from embracing music as a form of self expression, meaning there are loads of people who love consuming music but will never feel the joy of creating their own. Here are 5 workshop formats we’ve developed at CLIP which encourage everyone, regardless of experience, to get curious and creative with making sound and music.
1. One Note Challenge
A group improvisation game where you’re only allowed to play one note for the entire duration.
By restricting participants to only play one note it removes virtuosity and self-perceived ability from the equation. Instead focusing the player on other techniques such as; timbre, rhythm, dynamics. This exercises allows beginners to feel more at ease about their own ability, whilst also encouraging more confident musicians to think about their instruments in a different way. Instead working on technique and even extended techniques, for example non-traditional playing styles, like using a violin bow on a guitar.
Equipment: Enough instruments for one-each.
Time: 10mins, can be repeated.
- In this exercise the group sit in a circle. Begin with allowing everyone a minute or so to ‘find their sound’. This could be their chosen note on guitar, or preset on a keyboard.
- Invite the group to focus on timbre, rhythm and dynamics. You may also transpose your note up or down an octave. Sometimes its the space between the notes that matters more than the notes themselves, so don’t feel obliged to play the entire time.
- Each musician slowly joins in going clockwise around the circle.
- Encourage the group to work on their listening skills by making them base what they’re doing on the rest of the ensemble, if someone else is playing a bass part then play your note up a few octaves, or perhaps lock in with somebody by playing the same rhythm.
The performance will naturally draw to a close after a few minutes, or it might morph into a full blown jam – this is ok! If people start playing more than one note thats fine. Think of the “one note” exercise as a palette cleanser to ensure everybody in the ensemble is starting with the intent of playing as a group rather than playing as an individual.
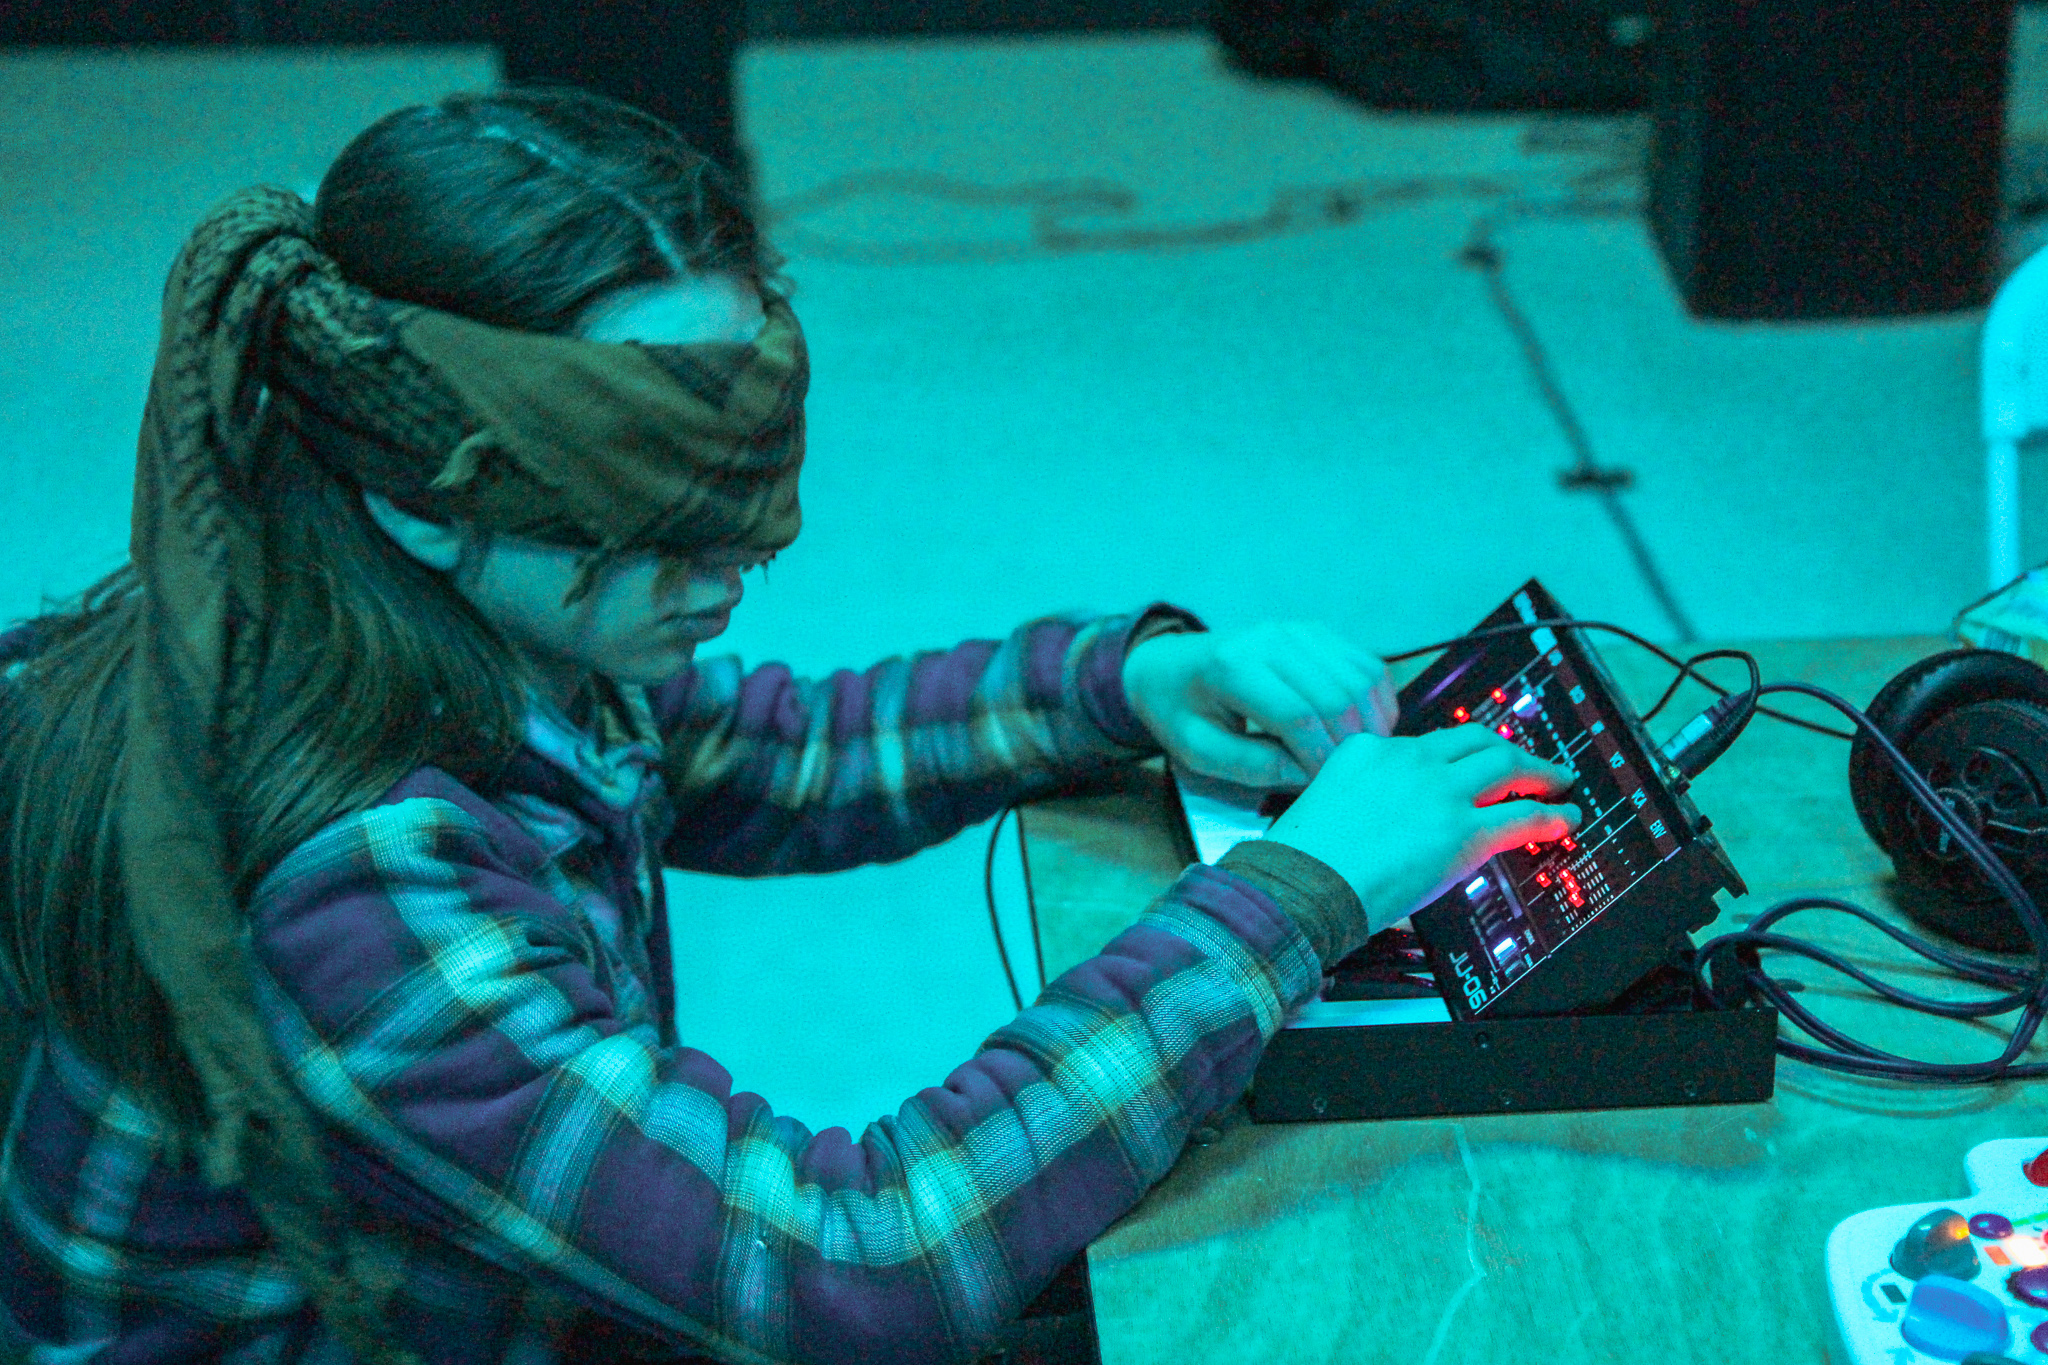
2. Blindfold Challenge
This exercise is 99% listening and 1% improvising. Using blindfolds to encourage deeper listening, empathy and self-awareness.
This exercises encourages active listening whilst also helping more nervous musicians to quell their nerves. A fantastic quote from a young CLIP workshop attendee commented that “I liked the blindfolds because you. could focus on what you hear rather than what you see”.
Equipment: Enough instruments for one-each, blindfolds (scarves, jumpers or ties are good replacements).
Time: 10mins, can be repeated.
- Set some sort of creative boundaries. Perhaps agree a mood, style or tempo. This will help less confident musicians feel at ease.
- In this format the group sit in a circle, allow a minute or so for everyone to ‘find their sound’ and then pop on their blindfold. Those uncomfortable with this can just look down or face another direction.
- Either instruct the group to enter one by one in a certain direction, or if the group are more accomplished they can self elect when to enter using their own best judgement – encouraging creative freedom and risk taking.
The performance will naturally draw to a close after a few minutes, or it might morph into a full blown jam – both of which are great.
Now have a conversation with the group – what worked well? Can you work out who was playing what? Can you take one of the ideas from the jam and work on it some more?
3. Colours and Verbs
Crowdsource your score and get imaginative with how we perceive the sound of words and colours.
Traditional notation has its limitations, so make up your own with some crowdsourced words and colours. Use the words to inspire your improvisation, including tonality, timbre, tempo and dynamics etc.
Equipment: Enough instruments for one-each.
Time: 10mins, can be repeated.
- Start by collecting a minimum of two colours and two verbs, and pair them up. The first pair is your starting point, and the second your end. For example Green Running to Blue Sleeping.
- Ask the group what they think ‘green running’ might sound like – stress that there are no wrong answers, this is a very subjective exercise! Minor or major? Fast or slow? You can go into more detail the more comfortable the ensemble get with the exercise.
- Participants are encouraged to base what their playing on the rest of the ensemble, if someone else is playing a bass part then dont muddy the sound with another – play the same note up a few octaves, or another note in the same rhythm.
Who is going to denote the change from one section to the next? Perhaps at first its you the tutor and then next time give this role to somebody who wouldn’t usually bring attention to themselves. Alternatively – don’t give the responsibility to anyone and see if anyone leads the change!
4. Instrument Building and Graphic Scores
Balloon powered bellows and lollipop harmonicas.
Circuit bending is the practice of modifying existing electronics items, most often toys, to create other items, usually musical instruments.
Equipment:
- lollipop sticks
- drinking straws
- rubber bands
- cardboard boxes
- hot glue / duct tape
- General craft materials (pens, paper and scissors etc.)
Time: 2 – 3hrs.
- Begin with your safety talk and complete some simple designs together as a group.
- These are some of our favourite designs from easiest to hardest.
- Straw Kazoo
- Lollipop Harmonica
- Rubber Glove Bagpipe – pdf in video descroption
- PVC Pipe Drone Maker (Membranophone)
- Set the group to task to take your templates and then customise there design with more materials
- Once they have their instruments, tell them to find THREE sounds and then make a shape/mark for each sound on a piece of paper
- Now arrange these shapes into various patterns
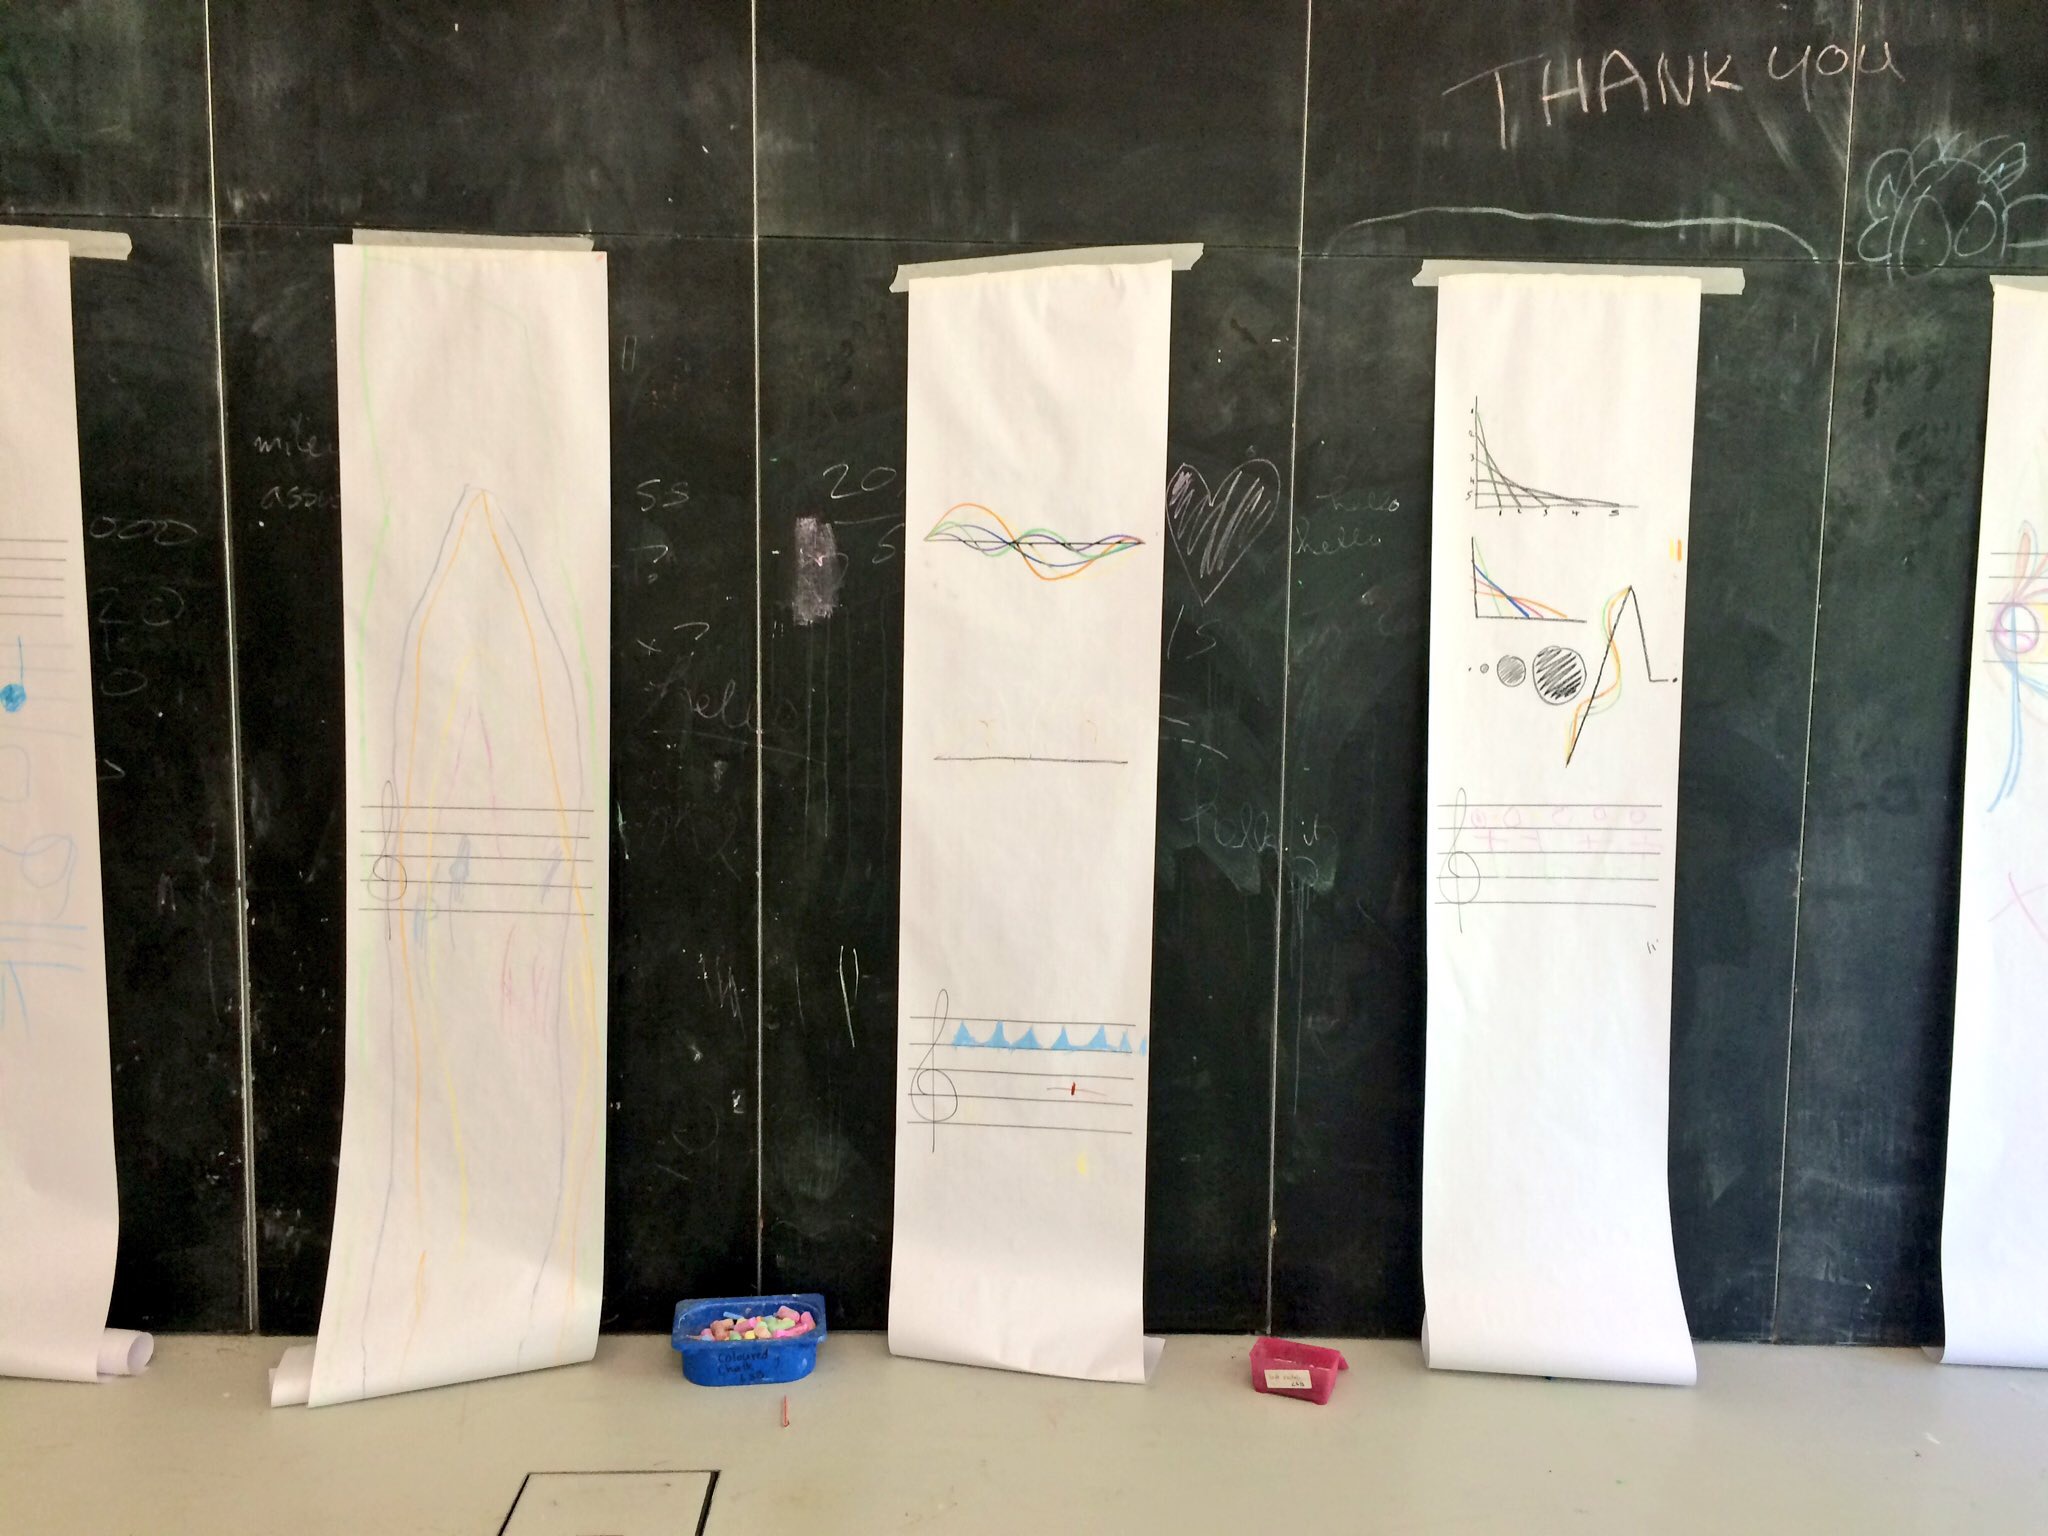
- Congratulations, you’ve just made your first graphic score!
- Think about how you could communicate dynamics? Perhaps using different colours, or the size of each shape? Encourage everyone to experiment with this method and design their own unique notation system.
This workshop could also be combined with the improvisation techniques above – but now using our own handmade instruments!
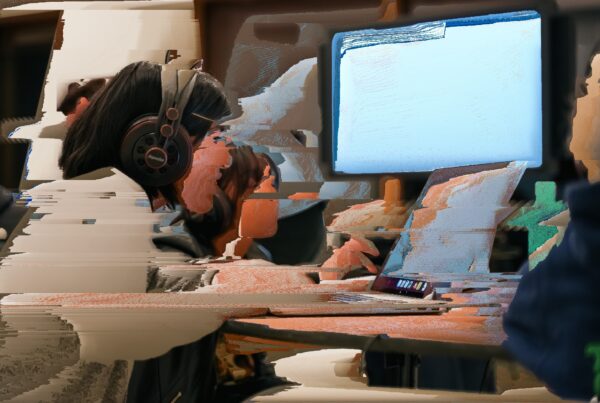
5. Live Music Coding
Make music through ctyping using the free software Sonic Pi – the live coding music synth for everyone.
Using Sonic Pi you need absolutely zero programming knowledge is required, plus the tutorials within the software are fantastic. Sonic Pi is simple enough for computing and music lessons, but powerful enough for professional musicians. It offers a great way for music students to understand some basics of programming whilst also offers computing students an insight into musical creativity and improvisation.
Using Sonic Pi you can learn to code creatively by composing or performing music in an incredible range of styles from Classical & Jazz to Grime & EDM.
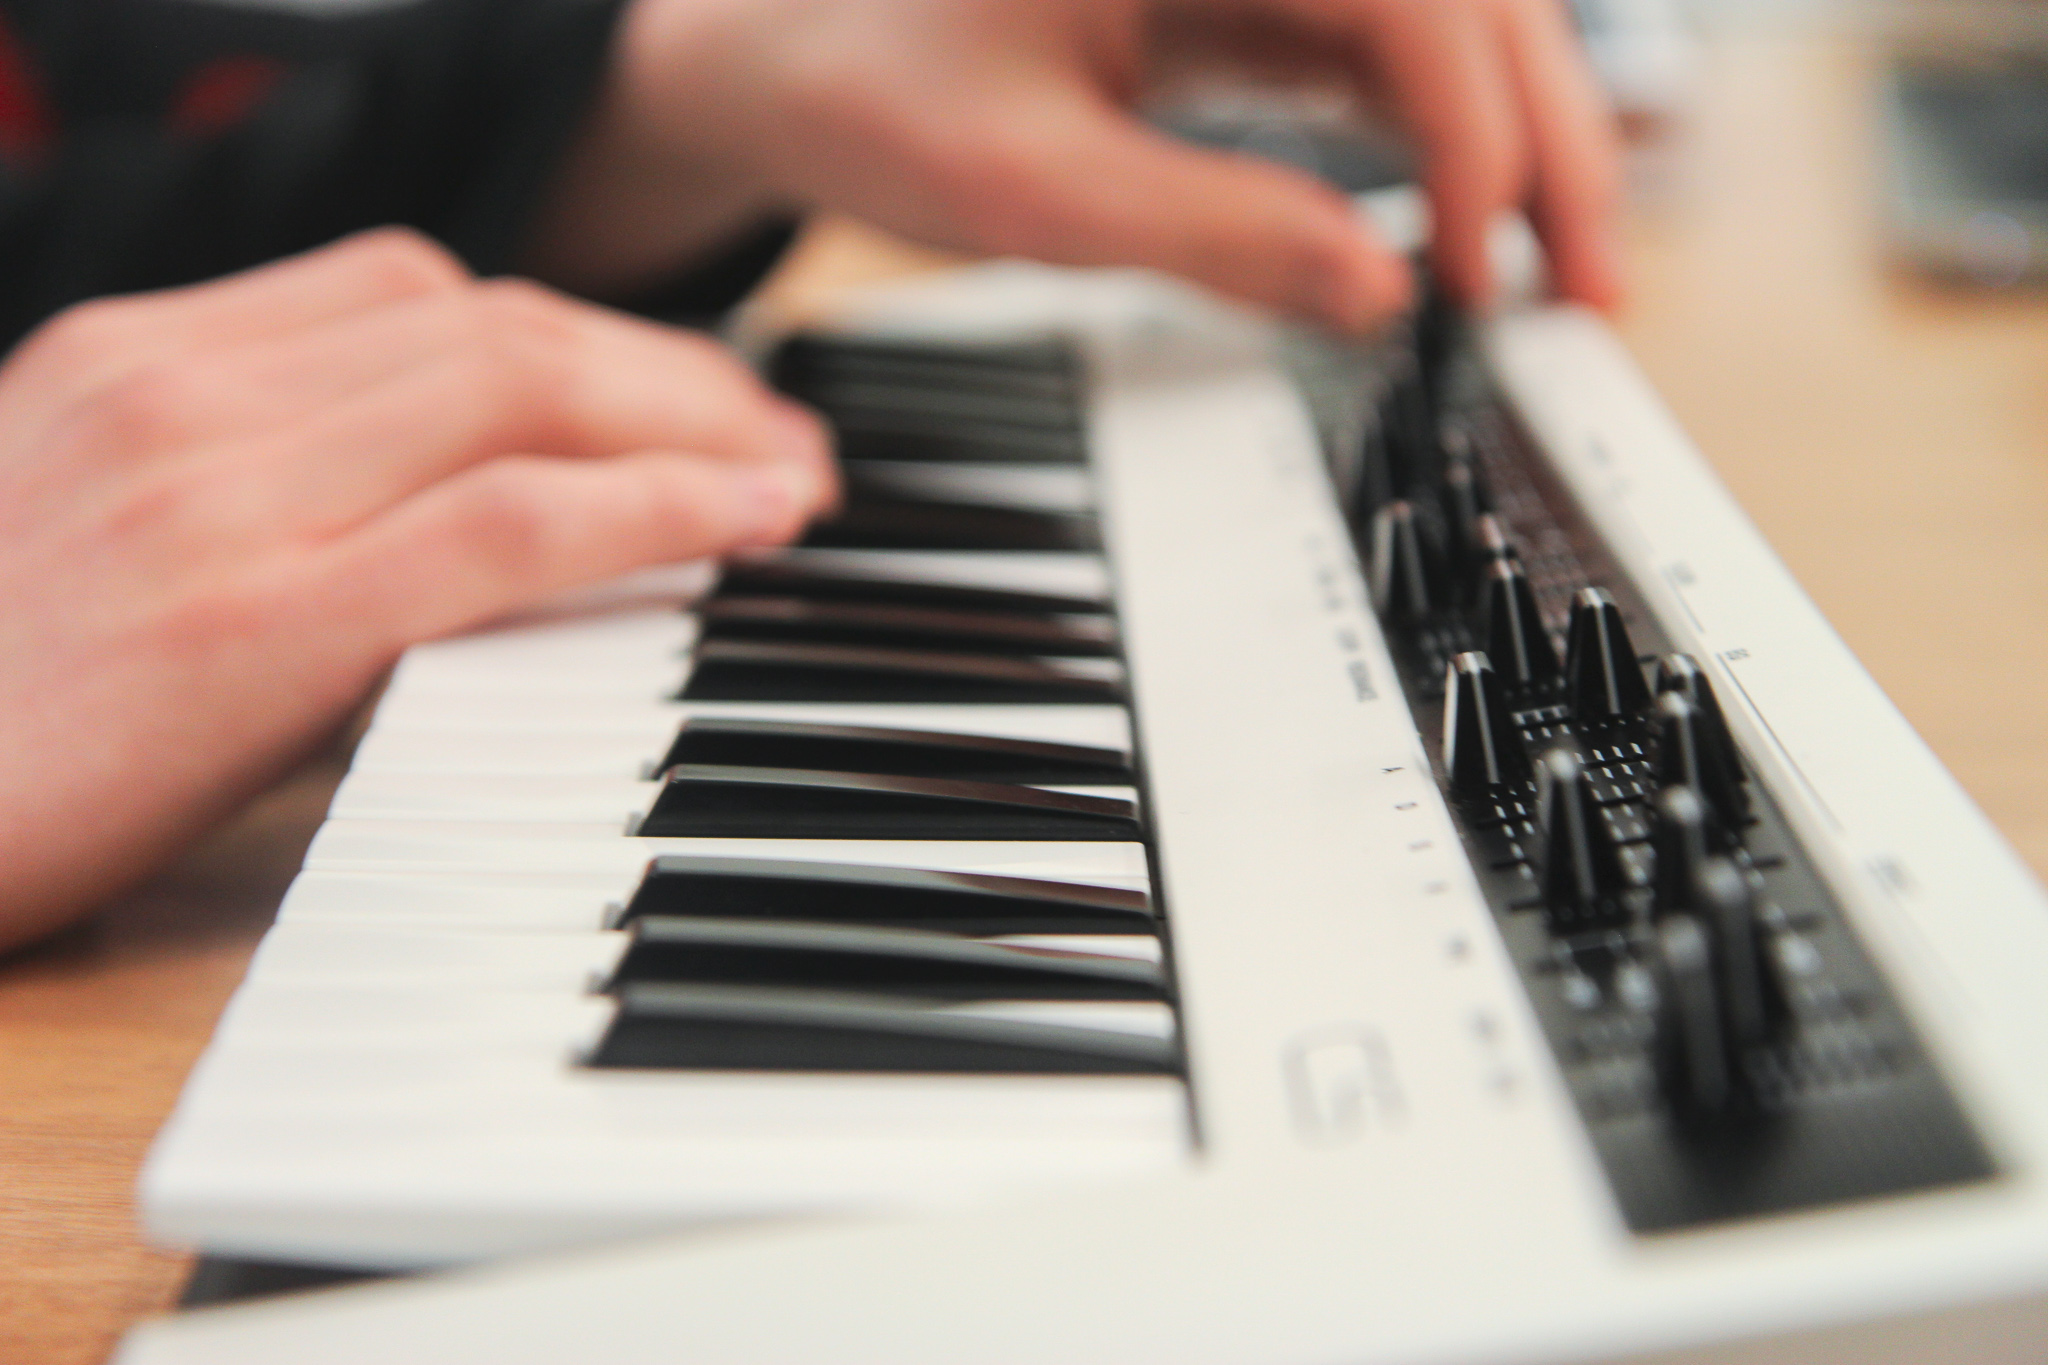
Equipment: Laptops and headphones (either one each or one between two).
Time: 1-2hr, can be repeated.
- Start with this performance from Sonic Pi creator Sam Aaron. Take notice to hear how the sounds change as he changes the numbers on the screen.
- Sonic Pi has brilliant built in tutorials (in the help window in the bottom left). Go through section 1 as a group – congrats you’ve just completed your first live coding performance!
- Now set the group on task completing section 2 and 3, using headphones. In section 2 they’ll learn how to program melody, rhythm, different synth sounds and even ‘envelopes’ (ADSR). In section 3 they’ll learn how to use samples in their performance (fear not, it has loads built in) – fun fact, if you make the ‘rate’ a minus number it actually plays the sample in reverse!
- If anyone flies through this, encourage them to look at the ‘examples’ tab of the help window. In here are fully coded songs, hit run and start to change the numbers to hear the differences.
- After everyone has had a decent amount of time experimenting with the software, unplug the headphones and share the compositions with one another.
- Challenge the group to come up with a 30-60s performance, which must start with only one sound. This encourages them to be changing improvising numbers/values/instruments on the fly rather than programming 60s worth of music and just hitting play.
Depending on time restraints, you can either get the class to give individual performances based on the previous step. Or, unplug those headphones and get everyone playing at the same time.
If you can twist a knob or push a button you can play music!
These workshop formats are simply a starting point and you’re both welcome and encouraged to adapt them and make them relevant to your participants. Either through changing the instrumentation, or perhaps combining the exercise with another you already do.
Got some improv ideas of your own? Please let us know! You can reach us on Twitter, Instagram or Facebook and we love hearing from other music educators looking to bring improvisation into the classroom.